Stripes are for babies
Today I painted some blue stripes floor to ceiling in the nursery. This was inspired by this photo:

Here is how it turned out: (sorry for the horrible photos, my camera isn't that great)

I think it turned out good, but not great. The bottom stripe is crooked, but that's ok because the crib will hide it and the edges aren't as crisp as I'd like, but overall I am satisfied! I used a Disney paint from Home Depot called "Pooh's Favorite Things". I thought the name was adorable (it's the bottom one in the photo)

Here's a closer look:

I got a quart of it and I have over half left over for other projects which is nice and it only cost me $14!
How To:
To figure out how to paint stripes on the wall, I used THIS blog post from Young House Love as a reference. Then I set out making my measurements on the wall. First, I found the center of the wall and marked it, then I found where the crib would be (it's 54" wide according to Walmart.com), so I marked 27" to the right of my center mark and 27" left of my center mark. Then I decided I would do 8" wide stripes, so I started at the top of each the right and left sides staying in line with my "crib marks" and marked every 8" inches all the way down the wall. Then Michael and I (this is the 2 person job) taped off the design (refer to the YHL blog post above for more details). Then I painted 2 coats and took the tape off right away and DONE! :)


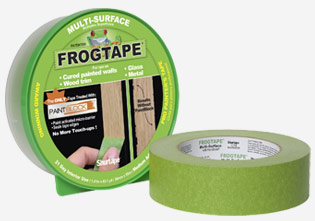
Imagine it is framed with white molding and a crib is in front of it. Oh, and my only tip that I have is to use Frog Tape. I would if I could do it over.
I didn't get nice crisp lines and I wish I used Frog Tape because that's what it's used for. Oh well, next time.

I can't wait to frame it with molding and get the crib! I am on a roll with projects. It feels good to get stuff checked off the list!


Comments